January 17, 2011

DC Modern Turns 1!

I can't believe it but DC Modern Quilt Guild is having it's first anniversary.  I started this group knowing very little about quilt guilds.  I am still not sure if we are exactly following "guild" guidelines, but I have had a great time meeting awesome people.  I have learned quite a lot this first year,  though still have much more to learn. 

In celebration of our 1 year anniversary we had a mini retreat!  We had a full 6 hours of sewing and sharing.  I have also made a few new goals for 2011, to have a written agenda for each meeting, and create fabric challenges every month for members to participate in. 

Some highlights in pictures...


Here's to another great year with some great new friends!!
 Thanks to everyone who came out, I had a such a great day!

Take care mucho,
-Natalie

January 12, 2011

Tutorial: Knick Knack tray

Materials:

2 layer cake (10 in.) fabric squares
10 in. square batting
8- 5in. long ribbon
coordinating thread

First layer your fabric squares and batting as illustrated in the picture.

At each corner lift the top fabric corner and measure 2 inches from the edge.  Pin in place 1 piece of ribbon.  


Do the same thing on both edges of the corners.  It should look something like the picture above. Repeat on every corner.

Then lay your top layer back on top.  Take one pin out while holding the ribbon in place.   Pin again with all layers. Repeat for all 8 ribbons.

 Sew all around the perimeter 1/4 inch from edge.  Remember to leave an opening for flipping. 

  Clip corners at a diagonal.

 Trim the batting as close to the seam without cutting the seam.

 Flip inside out and make sure you poke all the corners out.  

 Pin the opening closed.

 Top stitch 1/8th inch from the edge.  

 With a ruler mark a line 2 inches from the edge along all 4 sides.

Sew along the markings.   It should look something like this.

 Now tie the corners to give your tray some life.  

 Don't the corners look so cute!

Oh and your tray is reversible so you can switch it up!


Have fun making these by the dozens :)
If you want to share pics with us please post here.

Take care mucho,
-Natalie

January 10, 2011

Smocking Anyone?

I have been taking a stab at Canadian Smocking.
Ever heard of it?

I discovered it a few months ago while searching in blogland.  This blog actually has the best tutorial. It looks really complicated but it is actually super easy and I love the results.  I am planning on getting big squares of fabric to make pillow cases for our couch.  I will let you know how they come along.

Take care mucho,
-Natalie

January 7, 2011

Tutorial: Flat Iron Case

Ever wanted to have a save place to store your flat iron when you aren't using it or on a trip?
Here is a super easy way to create one!
If you are in a rush, like you are leaving on your trip tomorrow (yeah that was me). No fear! You can whip this up with some fat quarters in an hour tops :)

Materials:

1 fat quarter cut into the following dimensions
- 2 rectangles 7in. x 14in.
- 2 rectangles 7in. x 17.5in. then round the top of one end
about 1 yd 2.5 inch strip coordinating fabric (this will be the binding edge)
Insul-Bright batting (this looks like regular batting but has metallic crinkles that make it heat safe) cut to the same size as your rectangles (1 for each size)

First iron your strip of binding in half.
Layer your smaller rectangles as shown. Cut a strip of binding to the length of the top of the rectangle.

Sew the binding using a 1/4 inch seam allowance.

Now flip it around and make the binding come around the edge to the other side. Pin and sew it down (this is going to be the "front" side).
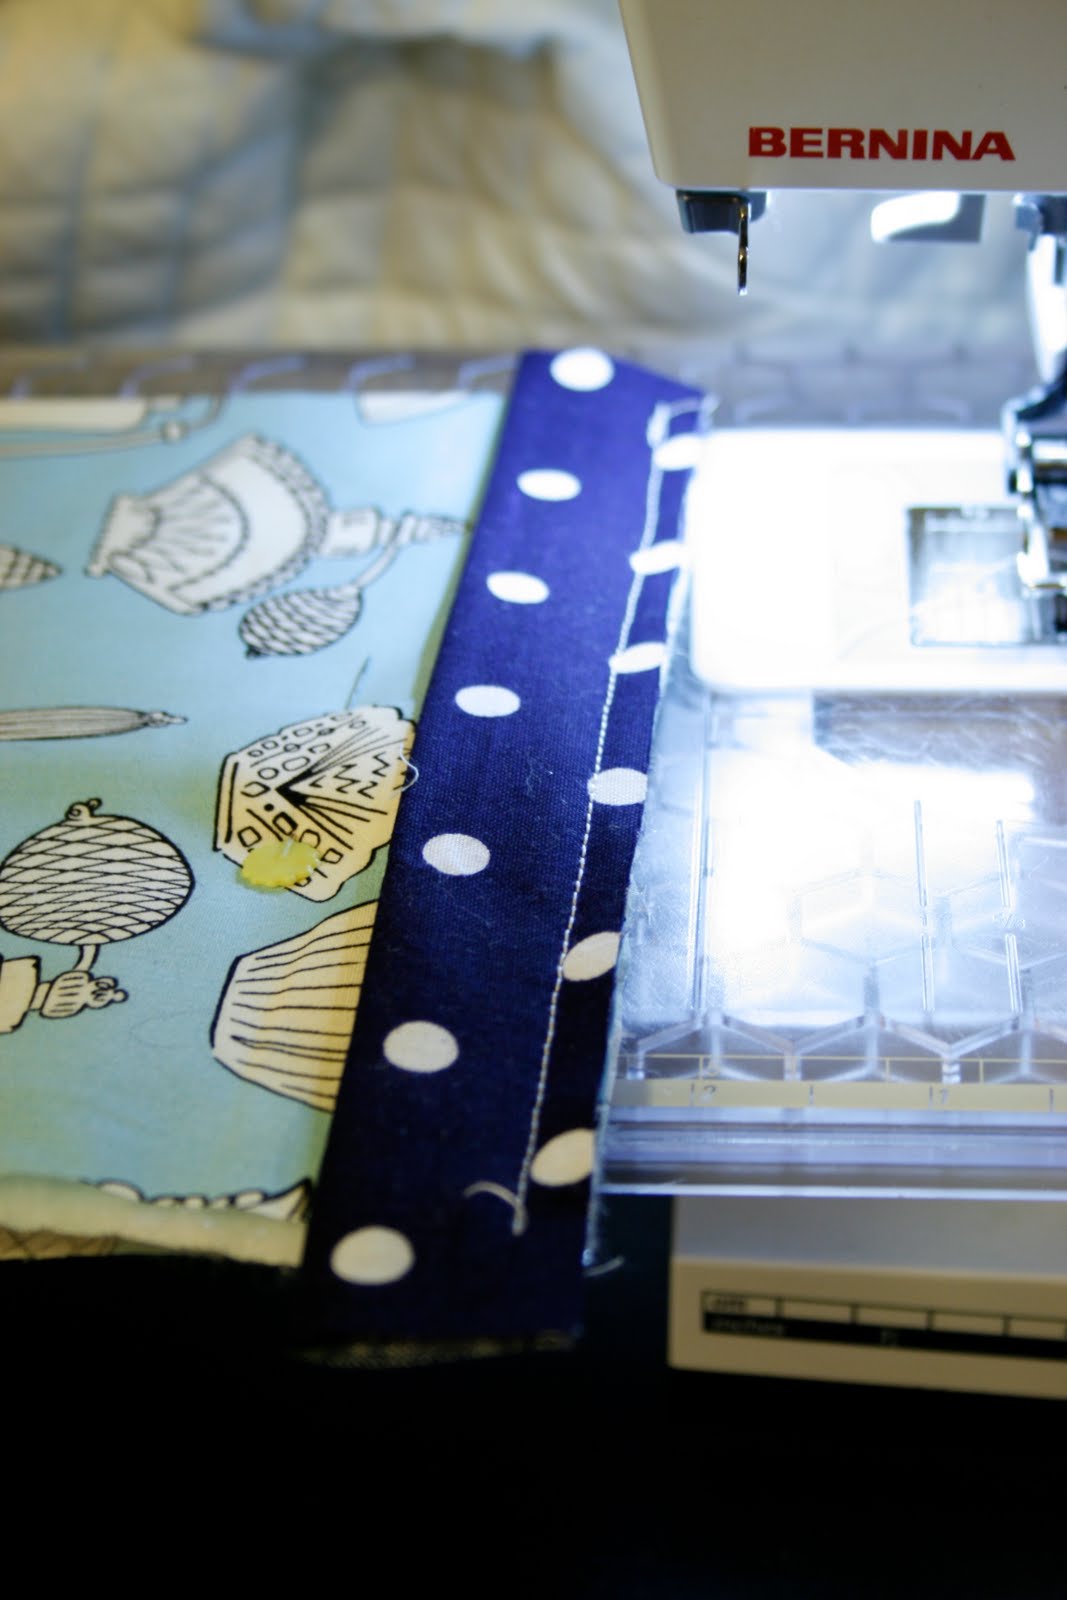
Layer the rounded rectangles in the same way as the smaller rectangles (right side down, insul-bright, right side up).  Pin the layers so that they don't shift.  Lay your two "sandwiched" fabrics so they look like the picture.

Take the remaining binding and sew all around the case just as you did the small strip earlier. If you don't wish for your stitches to be seen you can always hand sew your binding down like you would for a regular quilt.

Ta Da! Your all done!

I personally like the flap that I can slip inside the bag so I didn't put a closure. 
If you prefer you can always add a snap easily with a fun tool that looks like this 8 Snap Fasteners Pliers Leatherworking Craft Fabric 

I have a 1in. flat iron and wanted enough room for the cord to fit in as well.  If you have a 2in. iron or don't mind the cord hanging out you can always adjust the size of the case by either narrowing or widening the rectangles.  
Remember, I would love to see what you guys make with the tutorials on this blog so post pics for all to see here

Take care mucho,
Natalie

January 3, 2011

Tutorial: Monogrammed Journals

I was looking through one of my favorite books

and decided to modify these cute journals for some stocking stuffers for my sisters.

I came up with a fun monogrammed journal using fusible web. I hope you enjoy....


Materials:
-Scrap piece of fabric large enough for your monogram
-small piece of fusible web (slightly smaller than fabric scrap)
-scissors
-paper cover journal (I recommend moleskin brand)
-sewing machine

Start off by ironing the fusible web to the fabric following the manufactures instructions.

Trim the fabric to the size of the fusible web.

Cut out the monogram letter. I did this freehand but you can always draw it out before cutting. Just remember that you have to draw the letter backwards so that it is correct on the right side.

Peel off the fusible web paper.

Iron your letter where you would like on your journal.

Using a zig zag stitch on your machine, sew along the entire perimeter of the letter.

trim any loose threads and your done!

The first one was so quick that I made 3 in 30 minutes.

I started thinking of other modifications I could make and if you look really hard you can see that I freehand "quilted" my full name under my monogram. I thought it looked fun but wish I had done it with black thread instead of white.

What modifications do you think you would make when you try making one of your own journals?
 I would love to see your creations using my tutorials.  Post pictures here.
Take care mucho,
-Natalie

January 1, 2011

Bake Off Queen

For the longest time my oldest sister has called me the "Bake Off Queen". I have always loved baking. I am not much of a cook... actually I have heard the words "please don't make pasta again!" on more than one occasion from my husband. So I stick to, what apparently I am pretty good at and that is coincidentally what I LOVE to eat, desserts!

This past month I have felt like the Bake Off Queen. I have been baking up a storm for the holidays. I made two huge batches of sugar cookies for my annual cookie decorating party (which I still have some left over despite my best efforts to get rid of them, haha).

My nephew's birthday is in December so I had to pull out the all my tricks to create his favorite character Elmo!


This one was a hard one to conquer. Despite my best efforts I am not a professional so I don't have all the best equipment and in this case the structural know how. By the time he had to blow out the candle there were so many kabob skewers helping to hold him together he almost didn't even look like Elmo anymore, haha. It was a lesson learned for next time. Everyone luckily still enjoyed eating the cake which is what counts.

Then my other sister, mom, cousins, and I decided we had to try making some of the cutest cupcakes form this book

that I had gotten my sister for Christmas.
We had a great time baking, decorating and, the best part, EATING!


We decided to make 3 different cupcakes from the book. The first were the balls of yarn


then the cute little ants, though we did change them to be red ants because we had Christmas m&m's at home :)


Lastly we made different mini pies. These were by far my favorite. I just love the way they turned out.

Not sure what a yellow or green pie in the real world would be, but we had the m&m's and wanted to use them up :)

Take care mucho,
-Natalie